Want to complete your Videocon DLT registration?
This article will help you go through the Videocon DLT registration process from the beginning to the end.
In a step-by-step manner.
Let’s begin.
We’ll show you how to complete your Videocon (PingConnect) DLT registration.
To learn more about DLT, read
- Complete guide to DLT registration in India
- 4 expert tips for a successful DLT registration
- 5 Reasons for DLT Registration Rejection and How To Avoid Them
- 4 Top Reasons Your DLT Template Registration will be Rejected
Videocon (PingConnect) DLT registration process
Follow the steps below to complete your Videocon (PingConnect) DLT registration.
| Having issues completing your Videocon registration? Our team can help you. Contact us or send an email to info@smscountry.com. |
Step 1: Visit the videocon DLT portal
Visit https://pingconnect.in/entity/register-with.
Step 2: Decide who you want to register as
Are you an entity or a telemarketer?
An entity is a company that sends bulk SMS directly to its customers as a form of communication.
On the other hand, a telemarketer is an SMS provider company that provides bulk SMS to companies.
Select “as entity”, and then click “next”.
Step 3: Select new DLT registration
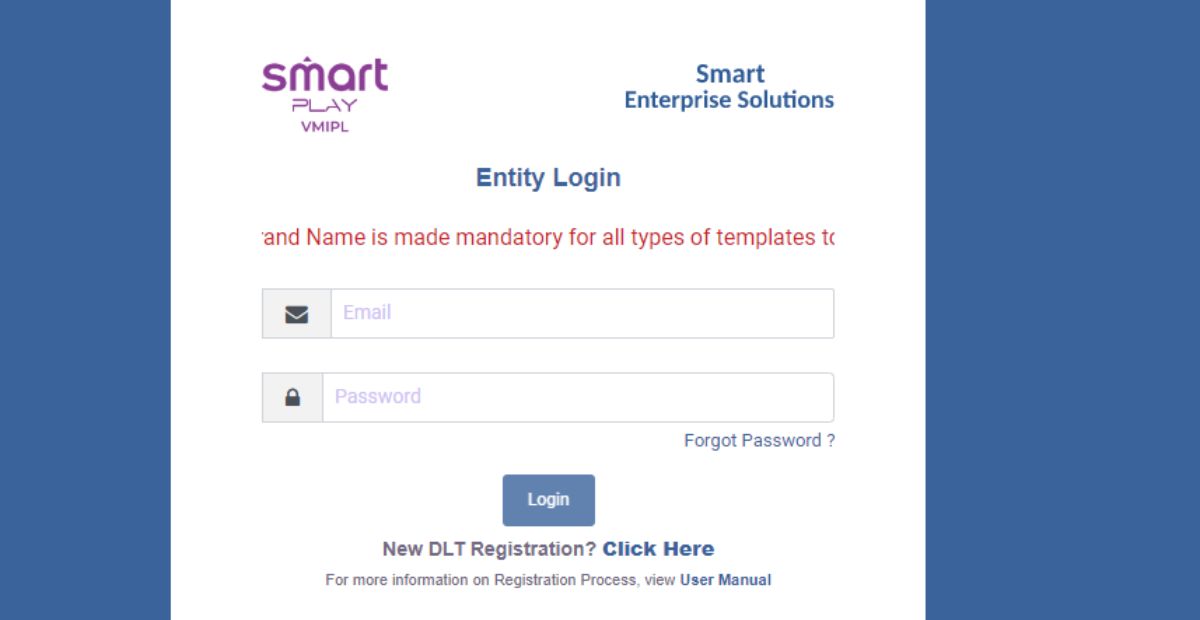
Since you’re a new entity, select “click here” beside the “new DLT registration?” prompt.
Step 4: Select the location of your company
By default, India is the choice here.

Once selected, proceed to the next page.
Step 5: Fill out the customer acquisition form
Select “new registration”, as this is your first DLT registration process.
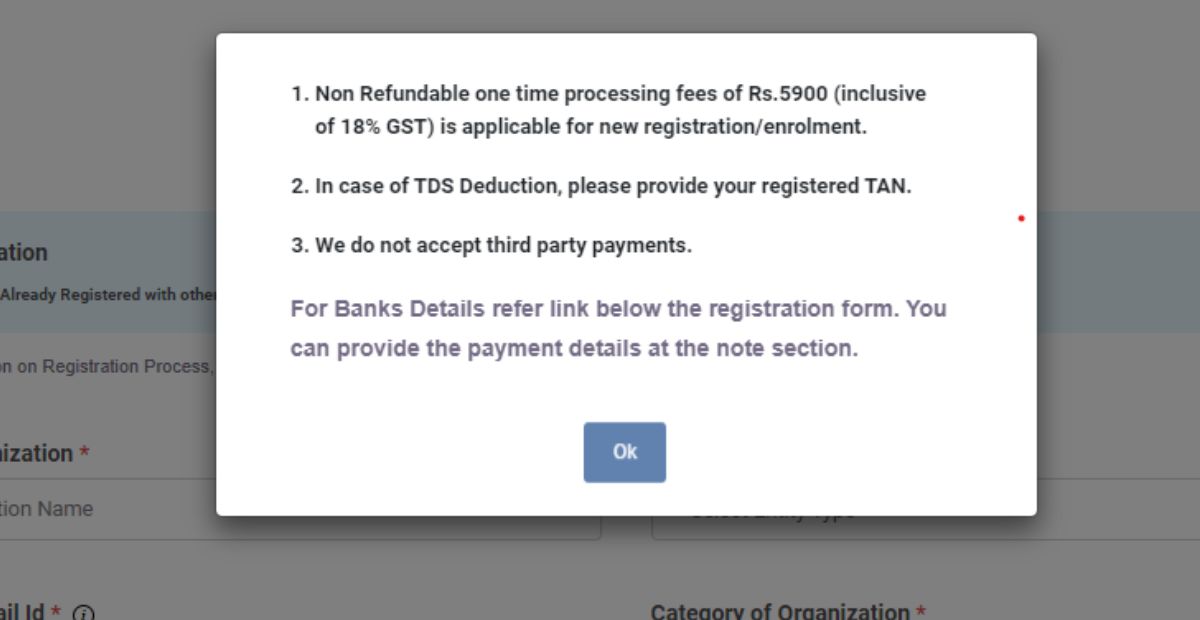
A message will pop up on your screen about fees. Click “OK”.
Step 6: Submit your company details
On the next page, you need to submit your company’s details.
Enter the following:
- Organisation name
- Entity type
- Email ID
- Category of the organisation
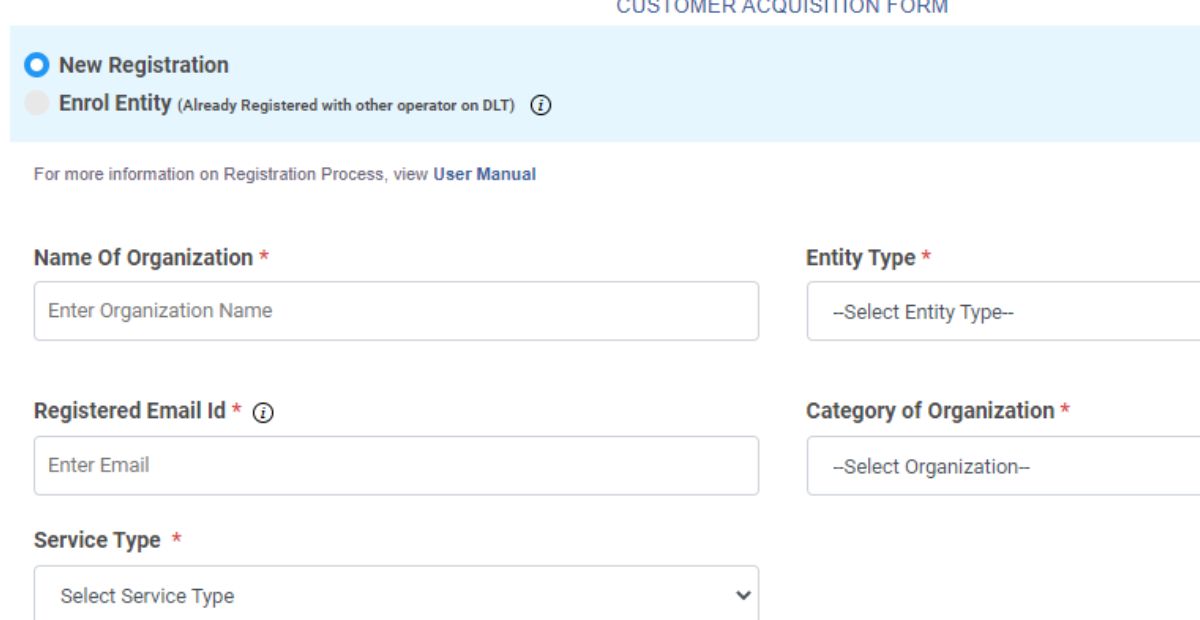
Further down the list, provide the following information:
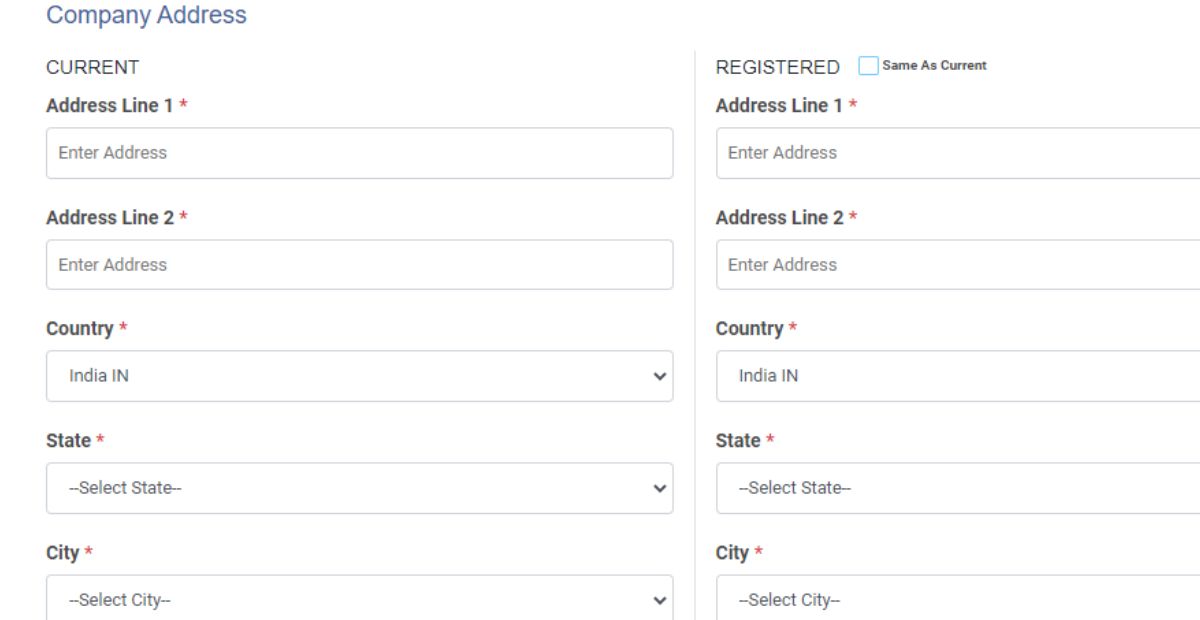
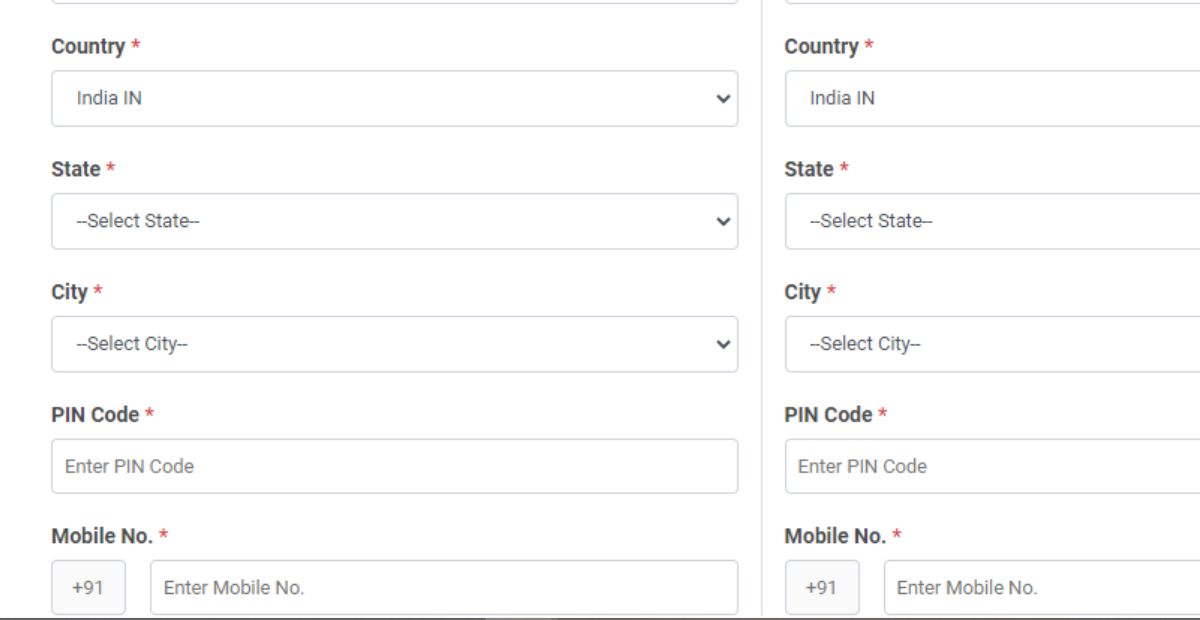
- Company address
- Country
- State
- City
- PIN code
- Mobile number
Step 7: Upload your proof of identity and proof of address
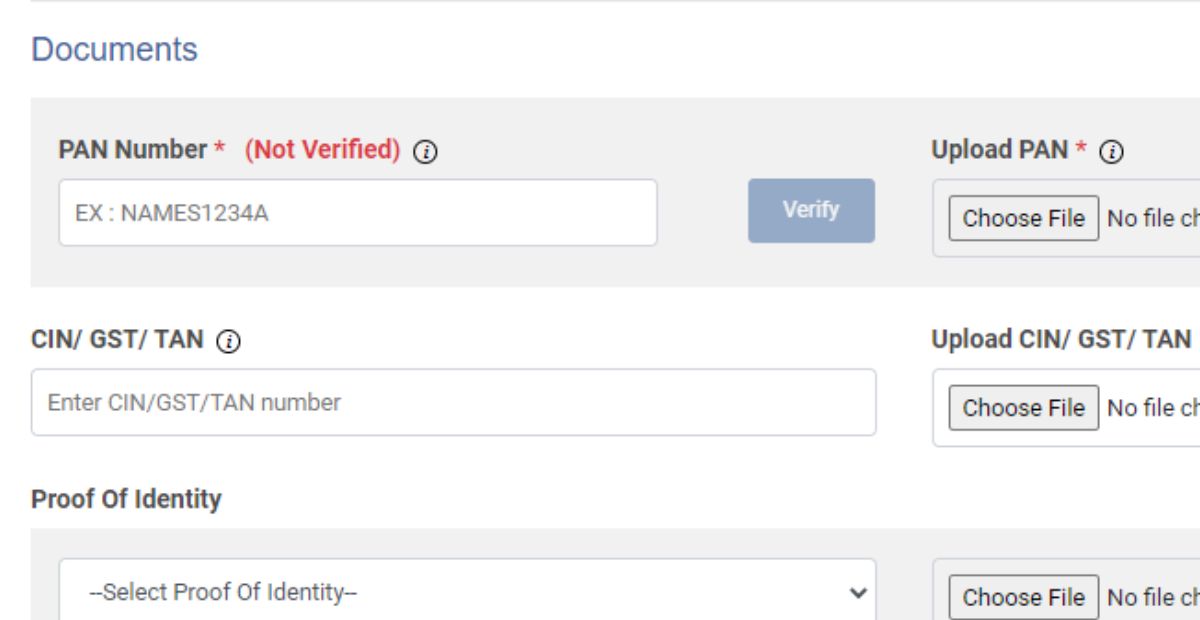
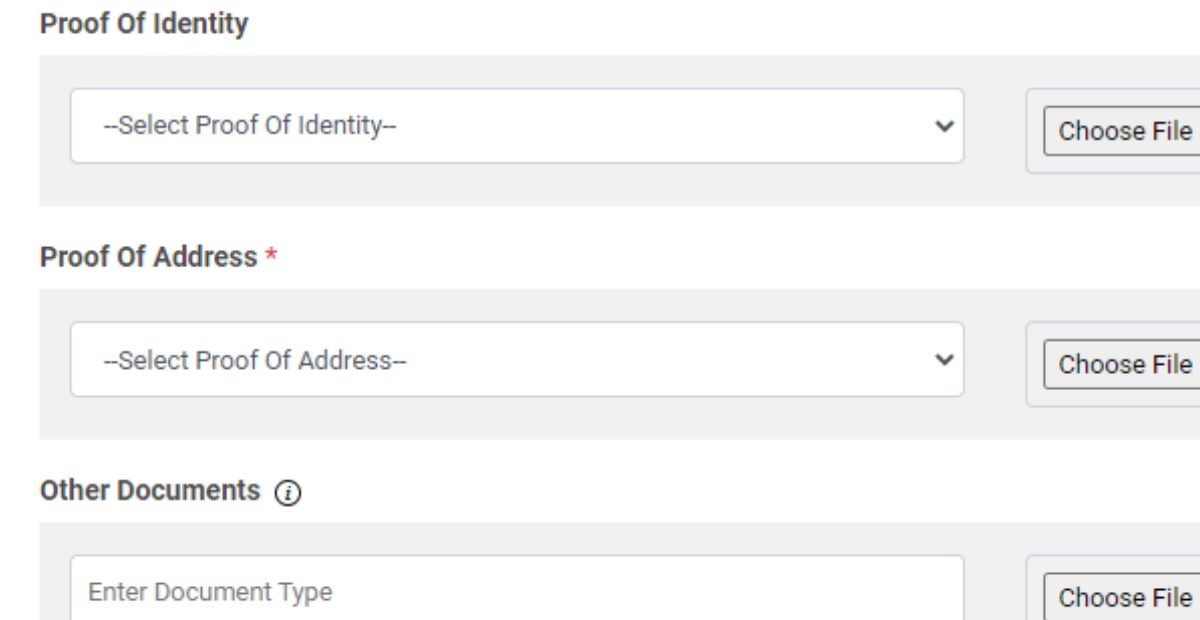
Now, it’s time to upload your documents.
First, upload your company’s PAN and CIN/GST/TAN.
For your proof of Identity, the following documents can work:
- Passport
- Unique Identity Number or Aadhar
- GSTIN (Goods and Services Tax Identification number)
- Election Commission ID
For your proof of address, one of the following documents will suffice:
- Unique Identity Number or Aadha
- Election Commission ID
- Passport, Electricity Bill (Not older than 3 months)
- Telephone Bill (Not older than 3 months)
- Lease Agreement/Registered Sale
The next step for your videocon (PingConnect) DLT registration is to enter the details of the authorised person.
Enter the name, phone number, email address, designation, and authorisation document.
Upload this authorisation document as a file in the section for ‘authorisation document”.
On the payment page, you don’t need to do anything. Leave the fields blank since there is no registration fee.
All you have to do is agree with the terms and conditions and then hit “submit”.
Step 9: Complete your verification
You will receive an OTP on your registered number. Use this OTP to complete the verification process.
Next, check your email inbox. You should receive an email from Videocon asking you to verify your email. Click the link to confirm your email, and voila. Your email verification is complete.
Now, wait 2-3 business days for your registration approval.
If your request is successful, you’ll receive an email/SMS with your login details.
Congratulations on completing your videocon DLT entity registration process.
What next?
| Having issues completing your Videocon registration? Our team can help you. Contact us or send an email to info@smscountry.com. |
Videocon (PingConnect) header/sender ID registration process
It’s time for the next step of your DLT registration process – completing your sender ID registration.
A sender ID is a unique name that alerts your SMS recipients about your identity. It can be a unique set of numbers or characters.
For smooth delivery of your messages, you must register the sender ID/header on your selected portal. Here’s how:
Step 1: Log in to the DLT portal
First, visit the videocon DLT portal https://pingconnect.in/entity/home.
Once logged in, head to the left navigation bar and click “header”.
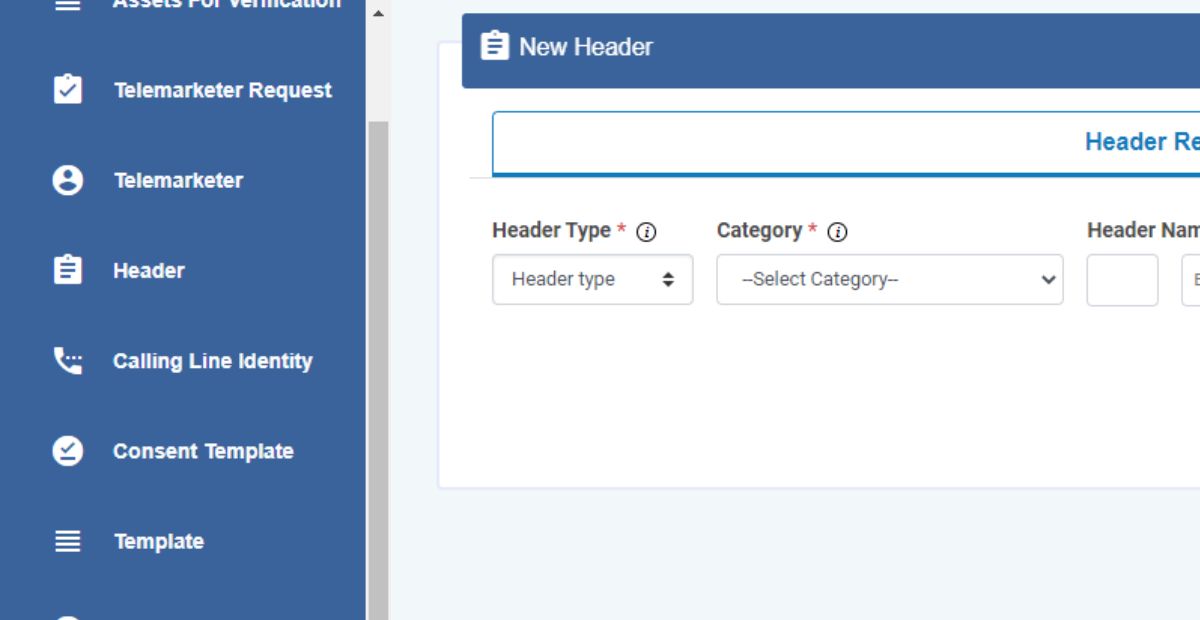
After clicking header, you’ll see a more detailed selection of all the headers.
To add a new header, select “new header”.
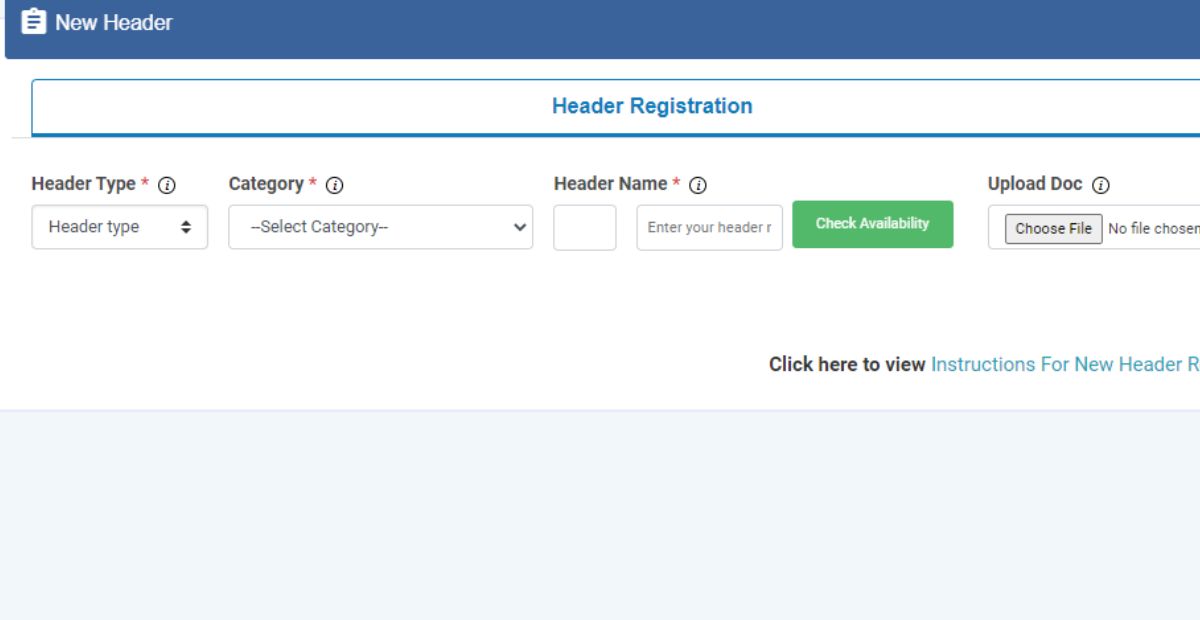
Next, click “single” for a new single header and select all other appropriate fields.
Step 2: Select header type
Select the header type from the list, and choose the category that best describes your business.
- Select “promotional headers” when sending messages to sell or promote your business.
- Select “transactional headers” when responding to your customer’s interaction.
- Select “service headers” when sending customer service messages.
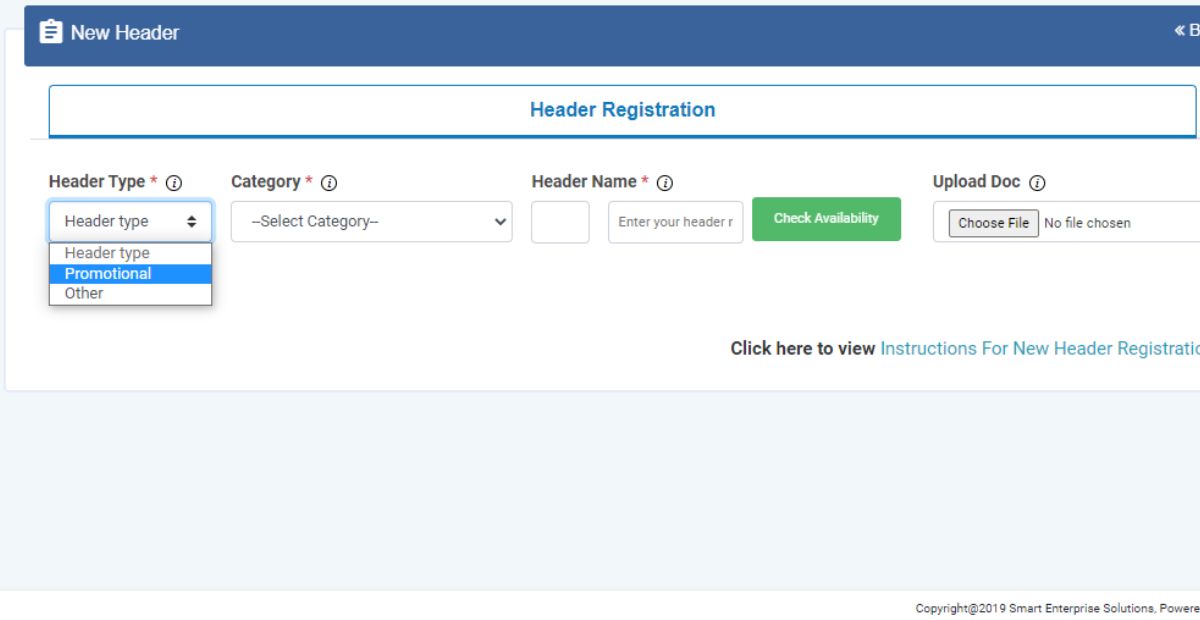
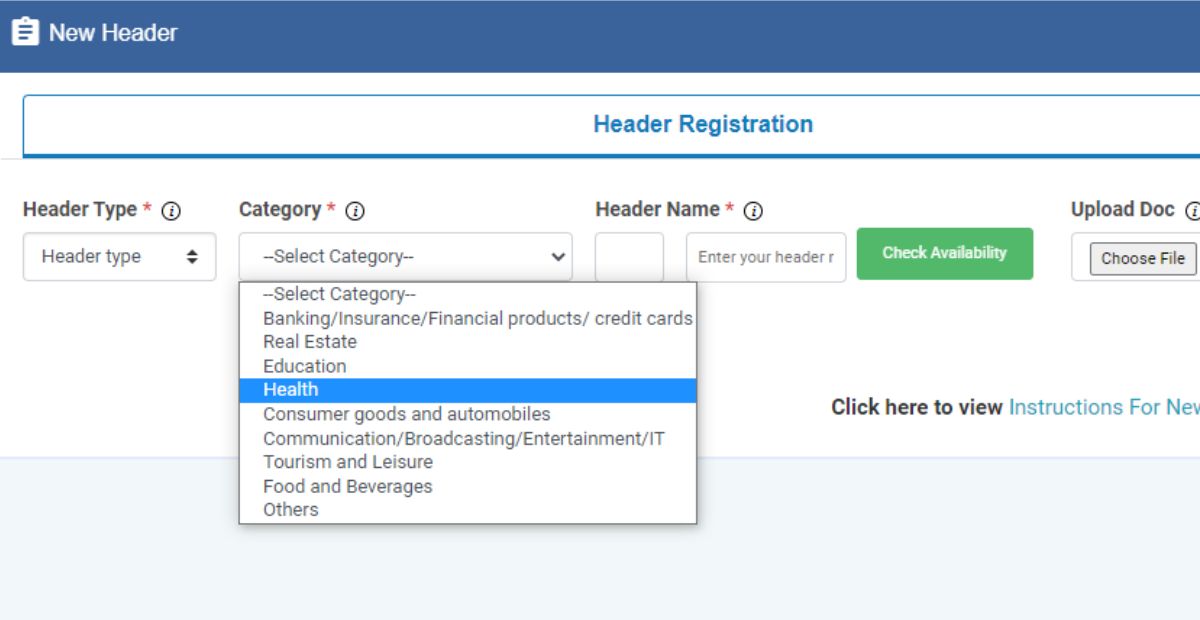
Step 3: Name your header
Now, it’s time to name your header.
Note that headers consist of six characters which can be numeric, alpha, or alphanumeric. Special characters such as (#, %, $, &, etc. and blank spaces) are not acceptable in the header.
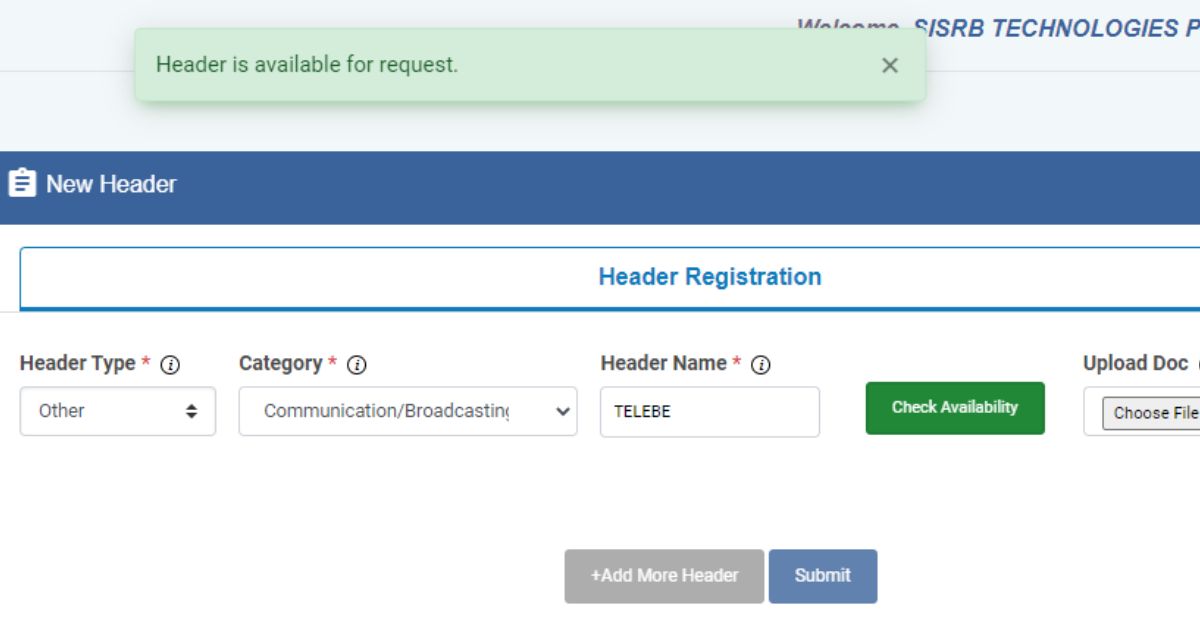
Select “check status” and confirm the availability of your applied header/sender ID.
Step 4: Upload your documents
Once done, choose the appropriate documents for your header and request OTP. Once you receive and verify your OTP, hit “submit”.
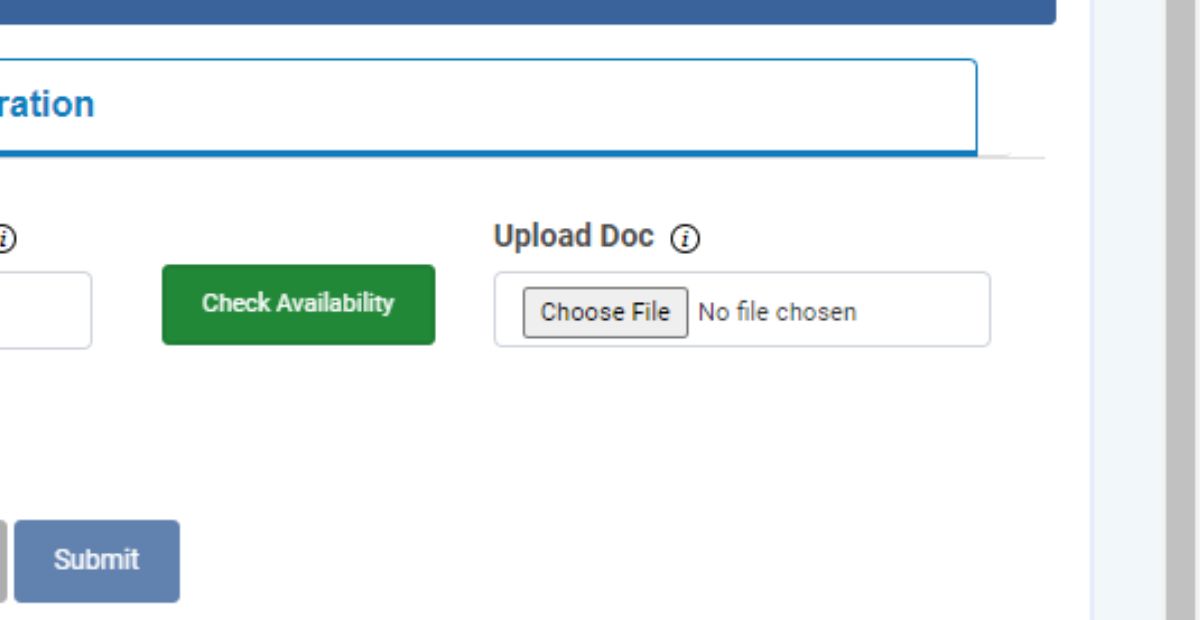
A successful submission should change your header status to “pending”.
This status means that the team will review your header submission, and you can expect an email response should any problems arise.
Be on the lookout for changing your header status to “approved”.
Congratulations!
Another part of your videocon DLT registration is complete. Now let’s look at registering your content templates on the DLT platform.
| Having issues completing your Videocon registration? Our team can help you. Contact us or send an email to info@smscountry.com. |
Videocon (PingConnect) DLT content template registration process
You’ve completed your entity and sender ID DLT registration.
You’re on a roll, don’t stop now.
Following the TRAI guidelines, all entities must register their SMS templates before sending out commercial SMS.
To register content templates, follow these steps:
Step 1: Create new templates
From the entity portal, navigate to the sidebar. Click on the templates option.
From the template page, select “add new template” to create new templates.
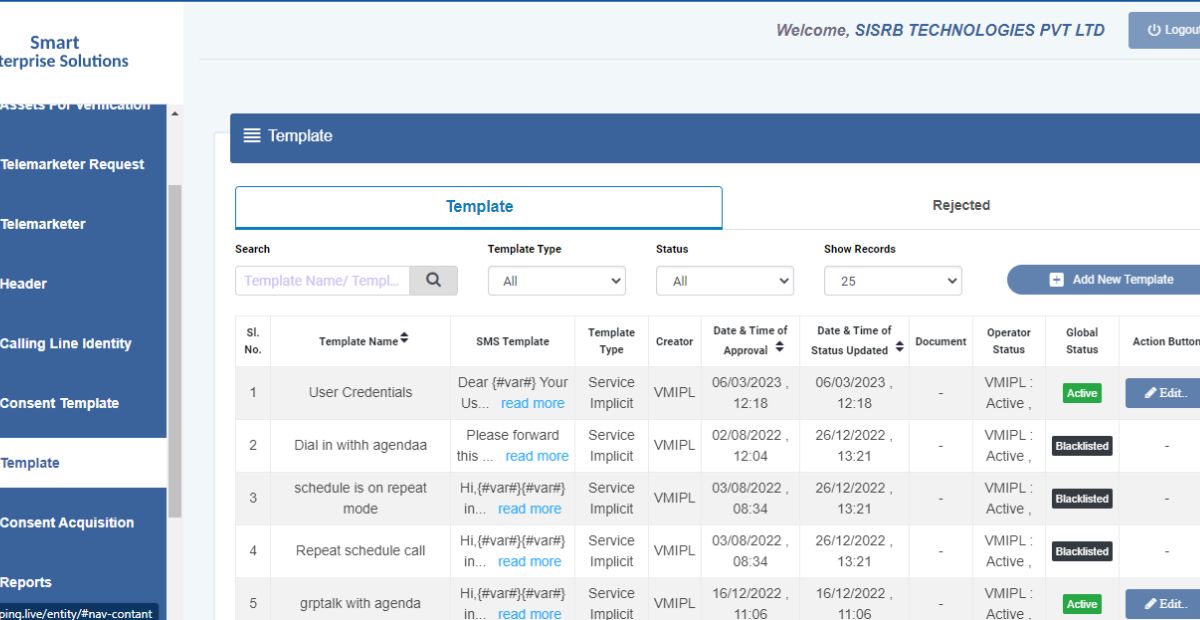
Step 2: Fill in the template name
Now, fill in a template name that suits your business in the “template name” column.
From the “communication type” column, select one of the following: Call or SMS.
Next is “content type”. Select one of the following:
- Service implicit: these messages go out to customers based on business relationships with the customer.
- Service explicit: these messages are promotional but go out to customers upon their consent.
- Transactional: these messages go out based on customers’ interaction with your website/products.
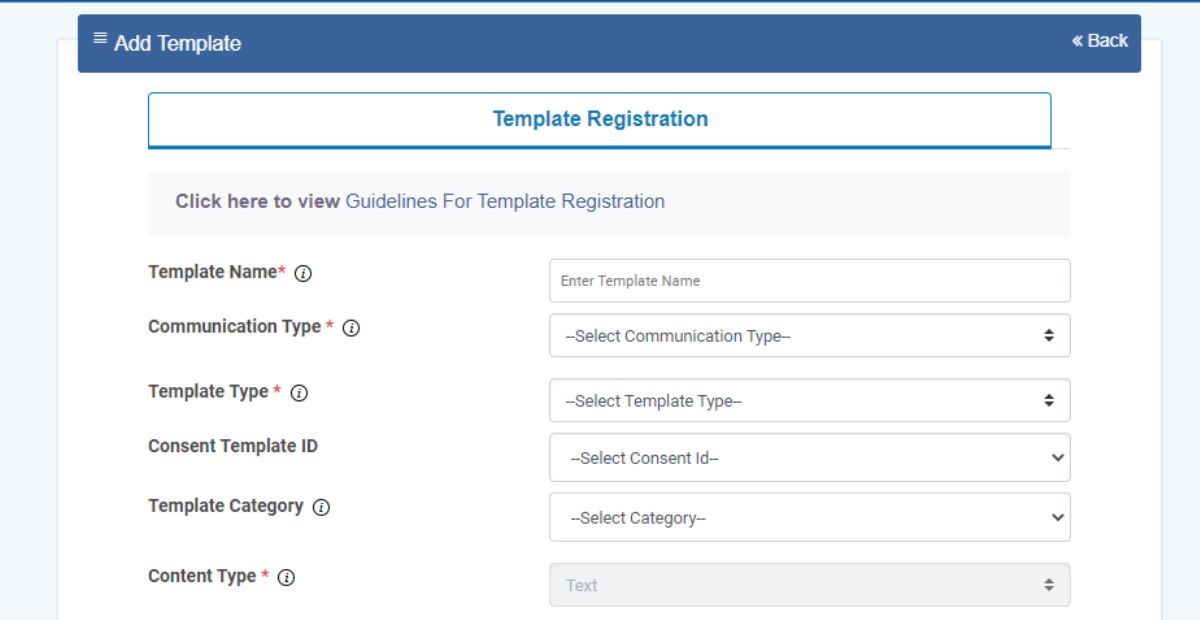
Step 3: Complete the consent template ID column
The next column is the “consent template ID” column. From the drop-down list here, select the consent template registered on DLT.
Please note that you don’t need a consent template ID for transactional and service implicit communications.
Next is the “content category” column. From the drop-down list here, select a category that applies to the template you’re creating.
Step 4: Select the template type
Next up is the “template type” column. Here, you’ll get either Unicode or text.
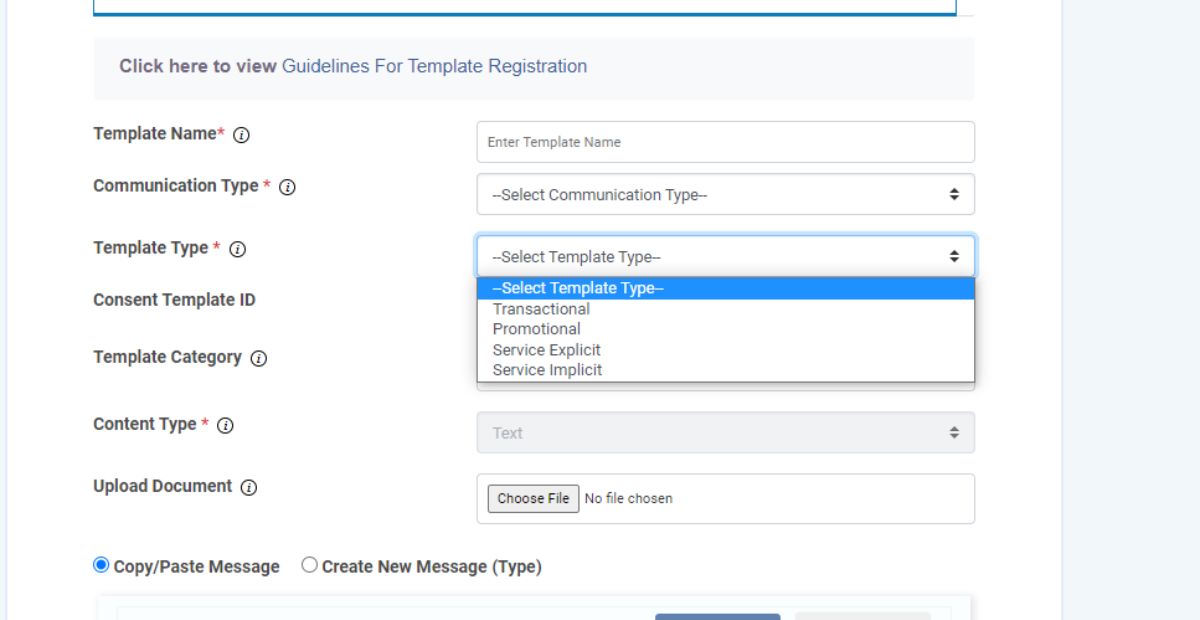
Note that any language that isn’t English falls under Unicode.
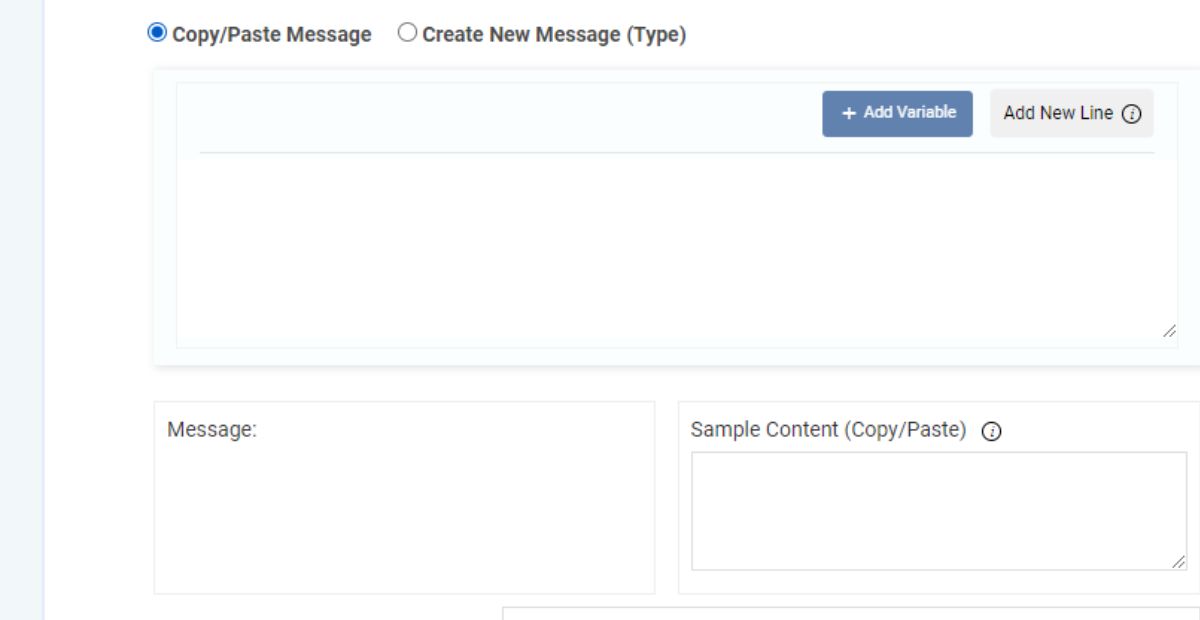
Now, you’re ready for the content creation section. Here, you have the choice of two options:
- Copy/paste the message
- Create a new message
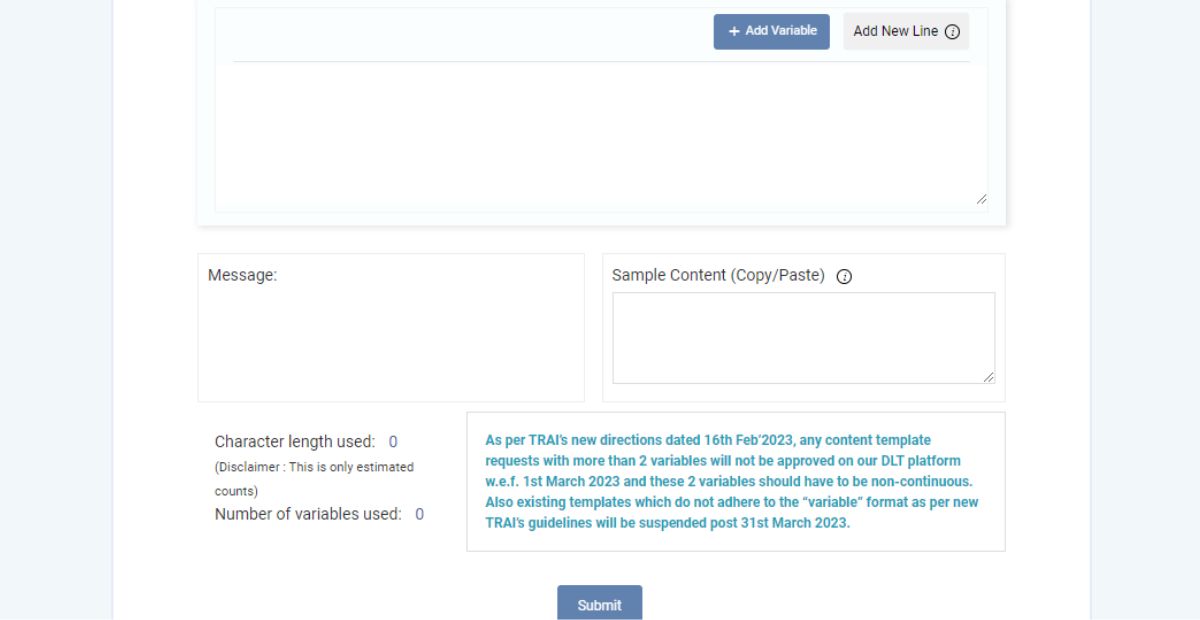
The “copy-and-paste” option means you’ll copy any message and paste it to create the content for the template.
You’ll type the content you need for the “create new message” option. This option allows you to add variables.
Your audience doesn’t speak English? No problem.
From the drop-down list, you can select the language you want. Note that the system will treat messages in languages other than English as Unicode.
Step 5: Verify your request
Now, click the “get OTP” option. When you receive your OTP on your registered number and email, type this OTP for verification.
Hit “submit”, sit back and wait for the operator to approve your request.
Reach out for help!
Now, armed with everything you need to complete your videocon (PingConnect) DLT registration process, what are you waiting for?
Get started ASAP.
If you need any help, contact our team of DLT experts today.
Also Read:


